


FOLLOW ME & sHARE
While we are transitioning back to working in the office, going to school, or getting ready for an upcoming race, Instagram just came out with a couple new features that I predict will be game-changers.
Three minor updates are the new fonts available on Instagram Stories, although you may only temporarily see them on your own page. The platform is still testing them out, but I think they are here to stay. The next two have to do with comments, which I love! You can now pin up to 3 comments on your posts, this means you can direct the conversations going on and potentially stop bullying and spam. You should definitely use this feature to STRATEGICALLY focus on comments that are positive, testimonial, answer FAQ, and conversation starters. The third update is the ability to filter comments, ladies, you will thank Instagram for this one. Now you can delete all of the SPAMMY and CREEPY comments in bulk instead of going through them one by one, and, you can apply a filter to hide offensive comments by picking words or phrases to block. For example, my filter includes comments with the word “sexy” to be automatically removed from my posts.
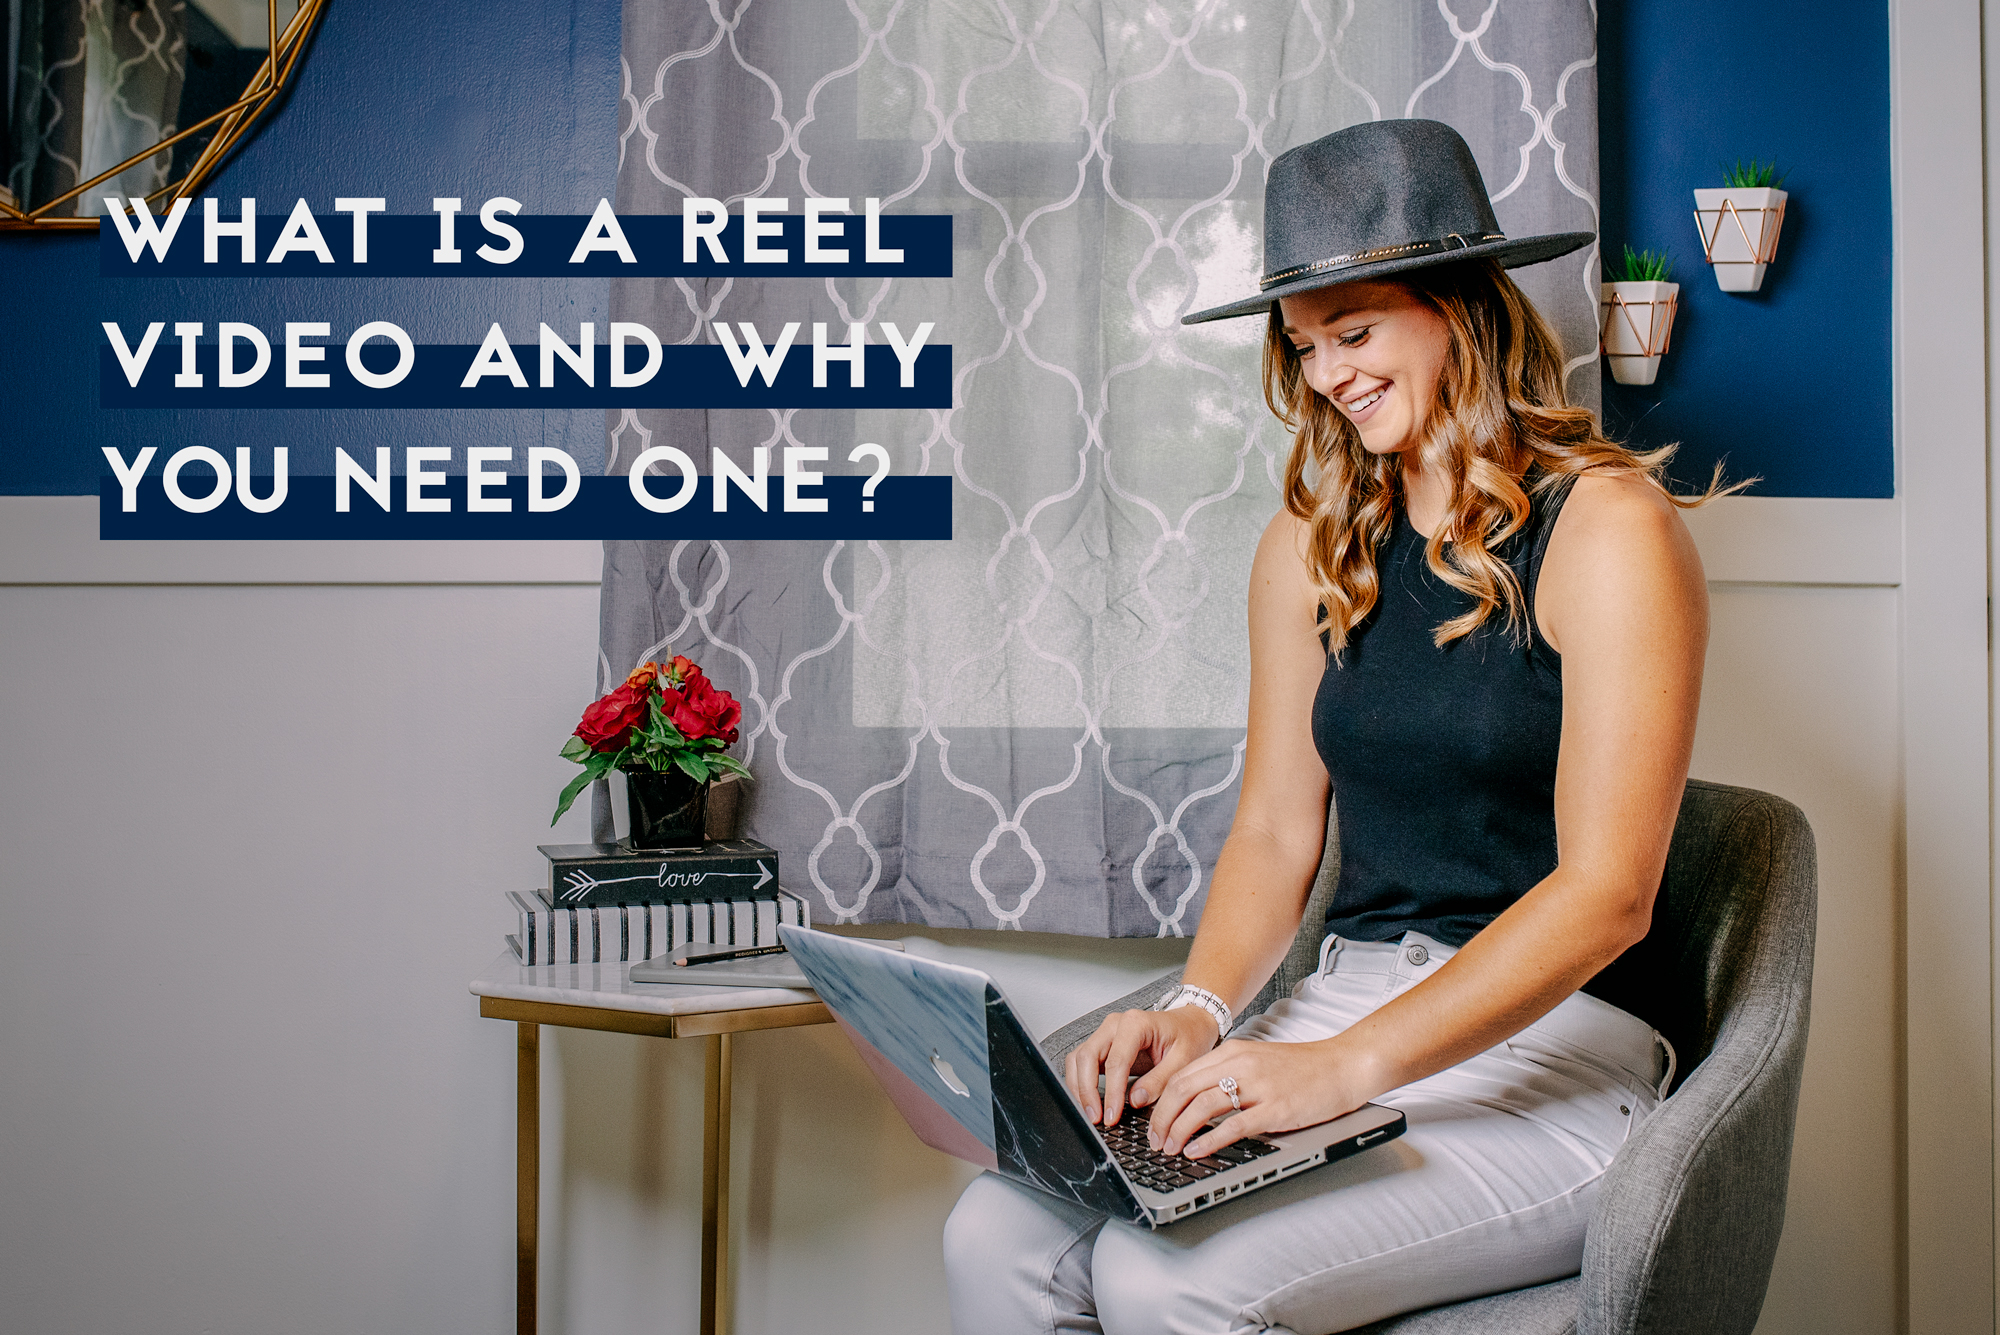
With the popularity of Tik Tok soaring, Instagram took the matters into their own hands to create their own version of editing short videos to post, called REELS. Reels is a much safer option as it’s embedded into the platform, and lets you film, cut, and edit clips into a 15 second video with music, text, and stickers to post either onto your Stories or onto your feed, not both. It’s another way to reach a bigger audience from the Explore page, and make fun videos to capture attention and engagement! Reels are now a section of your profile, like tagged photos, IGTVs, or Story filters, and appear as videos on the desktop version of IG (which you can still embed them onto your website and blog posts, see my latest one below).
HOW TO MAKE YOUR FIRST REEL VIDEO:
- Open up your IG Stories, on the bottom you will see: LIVE STORY REELS, tap on Reels and tap Get Started.
- Before you start recording you can pick a song from the music library by clicking on the music icon on the left-hand menu. Or, you can use your own audio if you want to. Note: if you are watching someone’s Reel and tap on the song (scrolling text at the bottom of the video) it will show you all Reel videos that use that same audio.
- If you want to do a slo-mo or a time-lapse video, tap on the speed icon. .3x and .5x are slower, 2x and 3x are faster, 1x is normal speed.
- Add a story filter by tapping on the face icon. Same as the song, you can tap on the effect of a published Reel to see all videos with that filter.
- Next, pick the stopwatch icon to add a timer, here you can choose how long you want a clip to be and have a countdown before the recording starts.
- Now you can start recording – or add videos from your phone’s gallery (not photos), this is almost exactly like how you would record a video for your Stories. You can record all at once, or do a series of clips. It’s best to have an outline idea of what type of video you want to make to save time while recording.
- Tap on the white circle with the right arrow to view the whole video, if you want to make changes to it you can tap on the white arrow in the top left-hand corner to continue editing (click discard).
- Once you’re done, you can add effects like text, GIFs, stickers, and marker lines. You can also pin your text to a certain area like on Stories, or select what time you want your text to appear and disappear by moving the slider bar on the video timeline at the bottom of your screen. Remember to download a copy just in case or to repost it later!
- Last but not least, write a caption with a hook at the beginning that will make people HAVE to watch your video and add hashtags at the bottom to attract more views. Pick your cover photo by tapping on the video preview where it says Cover. You can pick a frame from the video or an image from your Gallery.
- Tap on the white arrow again to share your video! Choose to share it to Reels or Stories, I recommend Reels so it can be visible on your feed for more than 24 hours to get the maximum number of views. If you’re not ready to publish, you can save it as a draft. Note: if you have a private account, your Reels will only be shared to your feed, not the the Explore Page.
It’s that easy! I hope you enjoyed this quick summary of these new awesome features, and please let me know when you made your first Reel!!!

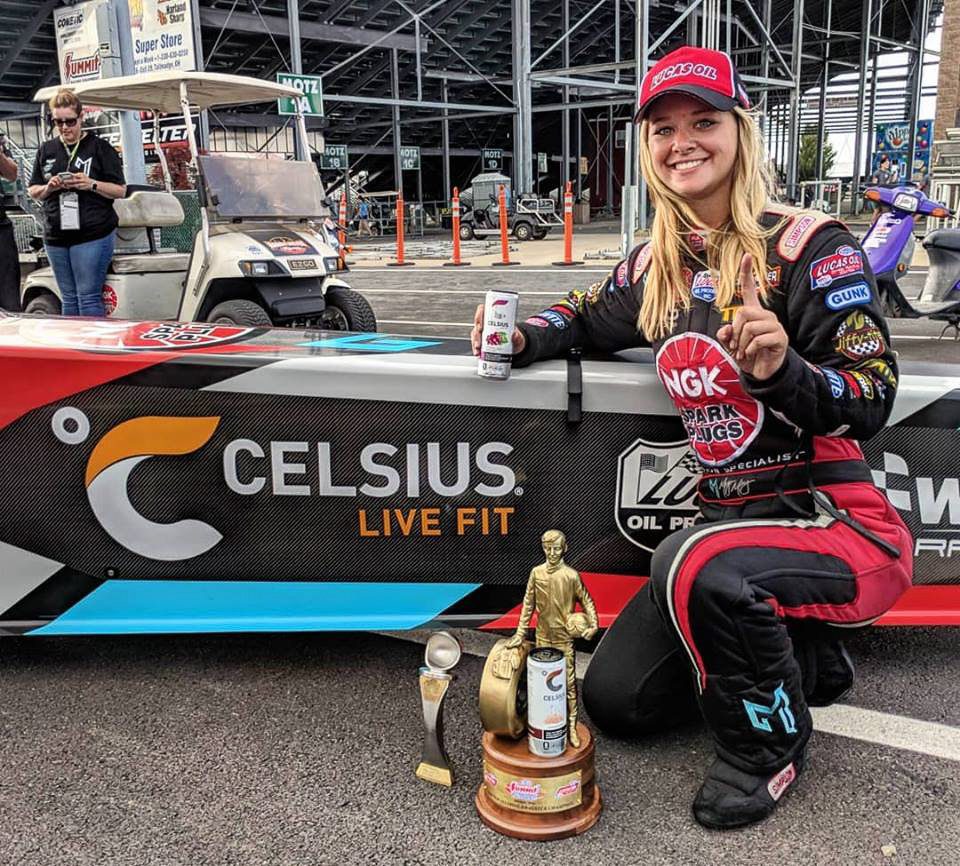
P.S. if you’re a racer and you’re not sure how to use social media to help with sponsorships, I’d like to help ya. Send me an email here to chat, or leave a comment below! I am not trying to sell anything, just want to know what questions you have and where you are struggling.